Want to learn how to safely remove the soldering iron tip? Here, we will offer you all the necessary abilities to replace the old tip with another one.
How to remove the soldering iron tip: Step-by-Step Instructions?
For electronics and many do-it-yourself projects, soldering is a fundamental skill you must possess. A well-kept soldering iron tip ensures that solder joints are clean and work well. But soldering iron tips can wear out or get broken over time and must be replaced. This piece will show you how to safely and effectively remove a soldering iron tip so you can switch to a new tip easily.
Needed Tools and Materials
- Soldering iron
- Gloves that can handle the heat
- A clean sponge or cloth
- (Optional) vice or holder
- Pliers or a tool to remove the tip (optional)
- Replace the tip of a soldering iron
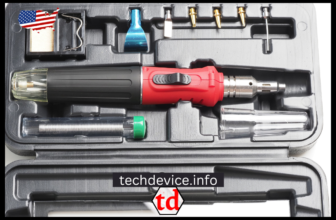
Soldering iron
The main tool for soldering is the soldering iron. It has a handle and a metal tip that heats up and melts the solder. Ensure you have a soldering iron with different tips.
Gloves that can handle the heat
During removal, these gloves protect your hands from the soldering iron and hot tip heat. They are important for safety and to keep from getting burned.
Clean cloth or sponge
It is what you use to clean the tip of the soldering iron. You can clean the tip of any extra solder or dirt with a damp cloth or sponge. It helps ensure the heat transfer is at its best when the tip comes off.
Vice (or, if you prefer, holder)
You don’t need a vice or handle, but it can help. It keeps the soldering iron steady while the tip gets cut off. It keeps the soldering iron steady by holding it in place. It makes it less likely that something will move by accident and makes it easy to use force if needed.
Pliers or a tool to get the tip out (optional)
To remove the soldering iron tip, you can use pliers or a tool just for that purpose. These tools give you a good hold on the tip so you can pull it away from the body of the soldering iron. Even though they aren’t necessary, they can be helpful if the tip is hard to get off.
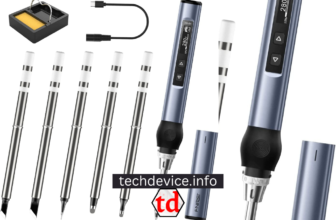
Replace the tip of a soldering iron.
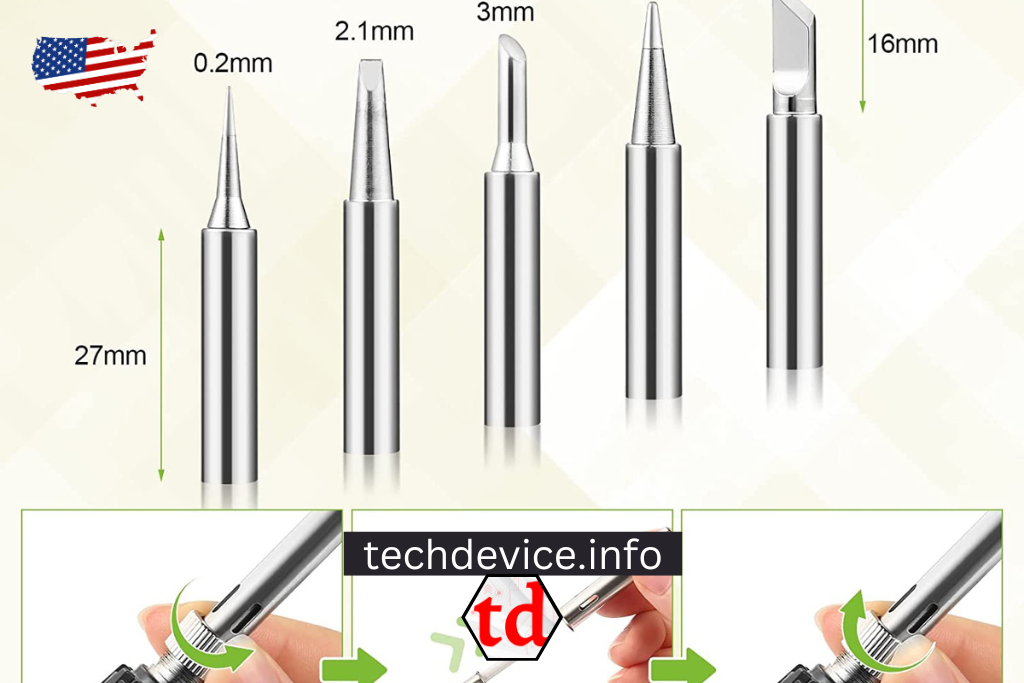
It is the new tip you’ll wear after removing the old one. Depending on what you need to solder, there are different forms and sizes of replacement tips. Ensure the replacement tip works with the type of your soldering iron to ensure it fits and works right.
Having these tools and materials ready before you start will make removing the soldering iron tip easier and safer. They are important for keeping you safe, ensuring the tip comes off properly, and making it easier to put on a new tip if needed.
Procedure to Remove the Tip of a Soldering Iron.
Cool down the soldering iron
Turn the soldering iron off and let it cool down. It is important for safety and to keep the tip from getting broken. Grab the tip tightly with a wrench or pliers. Ensure not to tighten the wrench too much because that could damage the tip.
Remove the soldering tip
You can take it off by hand when the tip is free enough.
Check broken tip
Replace a broken tip if needed.
Clean the iron for soldering.
Cleaning the soldering iron after removing the tip prevents solder buildup.
Replace the tip
Clean the soldering iron before installing the new tip.
Here are some more ways to take off the tip of a soldering iron:
- If the tip is especially hard to remove, try warming it up with the soldering iron. It will help loosen the solder that is keeping the tip in place.
- The tip consists of a fragile material, so avoid dropping it.
- You can take the soldering iron to an expert if you are doubtful about how to remove the tip.
- Anyone can effortlessly remove the tip of a soldering iron with caution and attention.
Step-by-Step Guide
Safety First
- Put safety first before starting any soldering job.
- Ensure you’re working in a well-ventilated area, and protect your hands by wearing gloves that can withstand heat.
- Keep a fresh sponge or towel handy to clean the soldering iron’s tip.
Put the soldering iron on high heat.
Before using it, turn it on and let it reach the proper temperature. The temperature may change depending on the solder and the kind of soldering iron you’re using. For the suggested temperature, look at the instructions from the manufacturer.
Prepare the Soldering Iron
Please use a wet cloth or sponge to clean the tip once the soldering iron is at the right temperature. It removes any excess solder or dirt and ensures that the heat transfer is at its best when you remove the tip.
Put the Soldering Iron Somewhere Safe
Put the soldering iron in a vice or stand. It keeps the iron still and stops it from moving while removing the tip. If you don’t have a vice or holder, be careful and hold the soldering iron tightly with your other hand.
Apply tinning flux (optional)
A small tinning flux on the tip can help the heat move better if the soldering tip is hard to melt. Tinning flux helps remove rust and lets heat move more quickly, making removing the tip easier.
Heat the Joint
- Carefully apply heat to the joint where the hot tip meets the soldering iron.
- Make sure the iron touches the common area directly.
- Make sure the joint is heated properly by applying heat evenly around it.
Melt the Solder
Heat the joint and touch the solder wire to the other side while the joint is still hot. The solder will melt under the soldering iron’s heat, allowing it to flow and liberate its tip. Hold the solder wire against the joint until all the solder has melted.
Remove the Soldering Iron Tip
Once the solder has melted, carefully pull the soldering iron tip away from the body of the soldering iron using pliers or a tip removal tool, if you have one. Ensure you pull the tip with a light, steady force to not damage the iron or the tip. Be careful because the point might still be hot.
Clean the Soldering Iron
- Once you’ve removed the old tip, clean the soldering iron to remove any solder or flux that might still be on it.
- Wipe the surface of the iron gently with a wet cloth or sponge.
Be sure the iron has cooled down before continuing to the next step.
Install the Replacement Tip
- Carefully match the replacement soldering iron tip with the soldering iron’s heating element to install it.
- Ensure the tip fits well, but don’t tighten it too much. The new tip should be easy to put in place.
- Once it is in place, heat the soldering gun and put a small amount of solder on the new tip to tin it.
Conclusion
At first, removing the soldering iron tip may seem hard. However, following these steps can replace a broken or worn-out tip safely and effectively. Be sure to put safety first throughout the process, and always check the directions that came with your soldering iron for more information. With time and practice, you can handle soldering iron tips well, making your soldering work steady and accurate.