Best Ways to Clean the Soldering Iron Tip to Save the Product
Best Ways to Clean the Soldering Iron Tip to Save the Product
Concerned about the condition of the soldering iron’s tips? Here are the best techniques to clean the soldering iron tip and store them for future use.
How to Clean the Soldering Iron Tip?
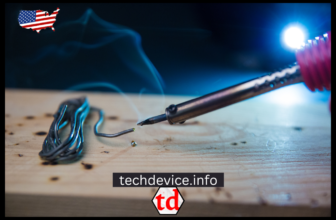
A soldering iron is an important tool for anyone who works with electronics or does jobs around the house. For your soldering iron to work well and last as long as possible, you must regularly clean and maintain its tip. A clean soldering iron tip transfers heat better, makes connections, and lasts longer. In this piece, we’ll show you how to clean the tip of your soldering iron step-by-step.
Why Is It Important to Clean the Soldering Iron Tip?
If the tip is oxidized, you can’t make good solder joints due to a layer of oxides, charred flux residue, and other impurities that keep the solder from flowing. For a strong solder bond, the hot tip must create a “heat bridge” between the parts, with the molten solder acting as the heat conduit. It can’t happen if the tip is oxidized, which turns it from a good heat carrier into an insulator. Our guide to the basics of soldering goes into great depth about the science behind this process.
Ways to Clean the Soldering Iron Tip
Cleaning Soldering Iron Tips by Hand
Depending on how bad the rust is, there are different ways to clean the tip. Suppose the oxides on your soldering iron tip are like unbreakable armor. In that case, you might have to use mechanical cleaning agents as the only option. It must be the last choice because the protective nickel layer on the iron tip wears off quickly. Without it, the tip is almost useless. Be careful and gentle when you’re cleaning the tip.
Green Scotch-Brite Scouring Pad
Using a green Scotch-Brite brand scouring pad is a much safer option. These use artificial polymers, gently removing the loose oxide layer without hurting the nickel metal. Rotate the cleaning pad along the soldering iron’s tip to clean it. For this step, turn off the soldering gun and let the tip cool to room temperature.
After you clean the tip, you should tin it with new solder. It is important because the cleaning process gets rid of the protected layer of solder. Without this layer, the tip can oxidize more. Repeat this step for each of the other ways to clean the tip.
The Brass Brush
You should turn up the heat if Scotch-Brite doesn’t work. Switching out the polymer-based Scotch-Brite pad for a metal brush is possible. Brass brushes are needed because steel would eat right through the nickel coating on the tip of the soldering iron. Brassworks because it isn’t hard enough to damage the plate.
Get the iron hot enough to solder with. Put a lot of rosin flux on the brass brush and scrub the tip until it is clean. You may have to use the brush more than once, but add more flux each time.
Weller Polishing Bar
Weller, a well-known brand of soldering tools, sells cleaning bars that clean the tips of soldering irons. To use them, gently scrape the tip against the bar to get rid of the layer of rust. However, you can eliminate tougher waste by heating the iron to a soldering temperature.
A Safer Way to Clean the Tip of Soldering Iron
If the tip of your soldering iron isn’t badly oxidized, try one of these traditional (and much safer) ways to clean it before you try one of the harsher mechanical ways.
Soldering Sponge
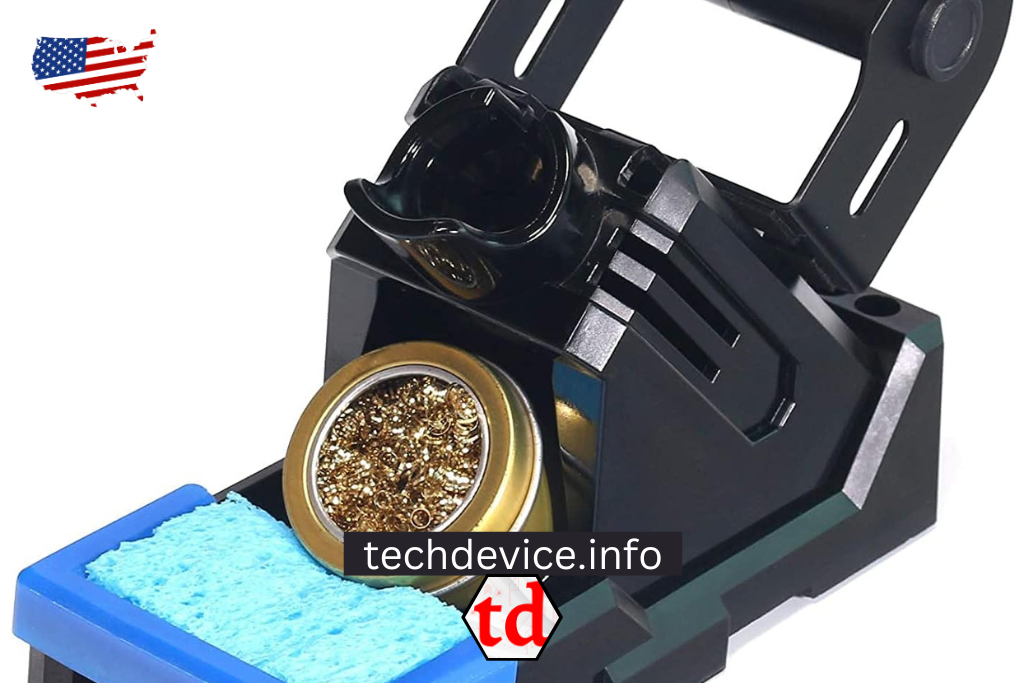
Soldering sponges are different from normal sponges made from artificial materials. The cellulose in these sponges has no sulfur, so it won’t melt on the tip or get dirty. These are lightly wetted, giving the hot tip a slight temperature shock. When the water hits the tip, it changes phase quickly enough to knock off the oxide layer and any other dirt.
To use this method, heat the iron to soldering temperature and then dip it in a flux jar. You can put one or two drops on the hot tip using liquid flux. Right away, rub the tip a few times on the wet sponge. Depending on how much the tip has oxidized, this should show some silver tip under the dark oxide covering. If not, do the process again and again until it does.
Cleaner for Brass Tip
Instead of the soldering sponge, you could also use a metal tip cleaner. These tip cleaners are thin brass wire loops with rosin flux. Even though a metal tip cleaner rubs more mechanically than a sponge, it is better for the tip because it is not as rough.
Tip Cleaner With A Motor
If you want to clean even more thoroughly, use automated tip cleaners instead of brass wool. Follow the same steps in the soldering sponge technique as in the last method for cleaning the tip. The only change is that the motorized tip cleaner takes the place of the sponge.
Cleaning Paste for Tip
Tip tinners are full of strong acids and other nasty chemicals that vary from brand to brand. Use them lightly and only on tips that have too much oxidation.
When the tip is hot enough to solder, vertically put it in the tip cleaner jar. Let it sit for a few seconds before wiping it clean with a slightly dampened soldering-grade, pure cellulose (no sulfur), soldering-grade sponge.
Precautions to Clean Soldering Iron Tip
- Before any repair, it’s important to put safety first. Make sure the soldering iron is turned off and has cooled down all the way. Wear safety gloves and eye goggles to avoid getting hurt while cleaning.
- Get your cleaning tools ready. If you use a metal sponge, ensure it’s clean and free of dirt or dust. If you choose a wet sponge, use pure water to make it wet. Put the cleaning supplies close to your work area so they are easy to get to.
- Touching the hot tip of the soldering iron to a wet or brass sponge will eliminate any extra solder or debris. This step lets you see the tip better and prepares it for the next cleaning step.
- Check the tip carefully for signs of oxidation, carbon buildup, or blackened remains. These flaws can make moving heat hard and hurt the soldering quality. The tip needs to be clean and shiny for soldering to work well.
- If you’re using a metal sponge, gently rub the tip of the soldering iron in a circular motion against it. The metal sponge will clean the tip by scraping away oxidation and burned residues. Repeat this step until the end looks clean and shiny.
- If you want a wet sponge, use pure water to soak it. Wipe the tip of the hot soldering iron over the wet sponge in a gentle but firm way. Heat and water remove most tip residue. Ensure the sponge is clean before every wipe so that dirt doesn’t return to the tip.
- You can use soldering flux or rosin paste to eliminate residues that don’t come off in other ways. Put a small amount of flux on the tip and heat it with the soldering iron. The flux will help remove contaminants that are hard to get rid of. A wet or brass sponge wipes the tip to remove any excess flux.
- Once you’ve finished cleaning, look at the soldering iron tip again. It should look clean, shiny, and free of stains or particles. If you need to, repeat the steps until the tip is completely clean.
- After cleaning, it is very important to keep the tip clean. Always clean the soldering iron before putting it away. If you haven’t used the soldering iron for a long time, add a thin layer of soldering tip preservative or tin the tip with new solder to keep it from rusting.
You must often clean the soldering iron tip for the best performance and longest life. By following the steps in this guide, you can get rid of oxidation, carbon buildup, and leftovers, giving you a clean, effective tip for soldering. Remember to be careful, put safety first, and regularly maintain your soldering iron to make it last longer and get professional results when soldering.


