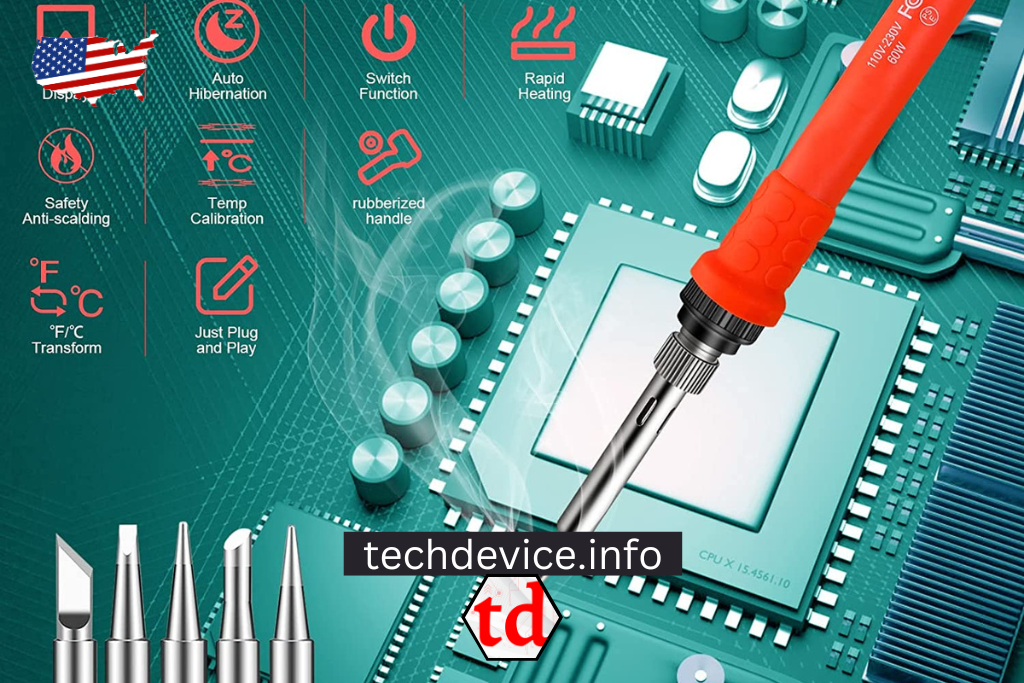
Want to get a note on how to tin a soldering iron? Here are the following steps! The first step to making good solder joints is to tin your soldering iron.
How to Tin a Soldering Iron?
Tinning A Soldering Iron
Tinning a soldering iron ensures it works well and makes clean solder joins. By tinning your soldering iron correctly, you can also make it last longer. In this guide, we’ll show you how to make a soldering iron step-by-step.
Most people fail at soldering because they need to learn how important it is to have a sharp, metal soldering tip. Because of this, they keep using the same soldering iron without sharpening or replacing it, which makes the job turn out badly.
Whether you use your soldering iron often or not, you should remember that it needs to be fixed up at certain times to keep it from breaking. You can easily use the soldering iron when you are in a hurry and don’t have time to sharpen the tip.
How to Tin a Soldering Iron?
The first step to making good solder joints is to tin your soldering iron. Whether or not you can solder well depends on how well you learn this skill. At first, soldering seems difficult, just like riding a bike. But you can get good at it if you know how it works and do a few things correctly. The most important tip is to keep the tip of your soldering iron tinned and shiny.
It seems like a simple job, but many people just starting with soldering must keep their tips in check. That’s why it’s important to learn how to tin your soldering iron and why it’s the most basic soldering skill.
Why Should You Bother to Tin a Soldering Iron?
Soldering heats the joint between two electronic parts. Solder and copper form a strong, electrically conductive intermetallic alloy when heated in one area. In our guide to the basics of soldering, we go into great depth about how this works.
The most important thing to remember is that the joint must be hot enough to melt solder. That’s a concern because all electronic parts have copper electrical lines covered in oxide. The tip of your soldering iron is also a point. That’s a problem because the oxide layer on the soldering iron’s tip and the parts’ leads is not a good heat carrier.
You can’t solder a joint if you can’t get heat from the tip of your soldering iron to the leads of the component and the pads or through holes on the PCB. But it’s easy to remove the oxide layer on these surfaces. Just put on some flux and heat it until it becomes chemically active enough to remove the rust and other dirt. Copper oxidizes quickly in the air, especially when you touch it with a hot soldering iron tip.
So, the right way to work with computer parts and PCBs is to use flux and solder. Preferable all at once. The flux removes the dirt and oxide layer, and the solder then joins to the clean copper surface to make a coating that doesn’t oxidize.
How to Tin the Point of a Soldering Iron?
Here’s the right way to put in on your soldering iron.
Step 1: Let Set the Temperature
Get the soldering iron hot enough to use. It could depend on the kind of glue you use. A decent soldering iron heat to 482 °F (250 °C) for tinning, but a cheap one may need 536 °F (280 °C). If you’re still unsure, check out our guide on setting the best temperature for soldering.
Step 2: Let Melt a Soldering Iron
Melt the solder onto the tip to cover the nickel-plated part, as shown in the picture below. Don’t forget that the tip doesn’t have to be shiny to the end. The only part of the “tip” of the soldering iron that needs to be shiny is the part covered with nickel. Because of rust, it is normal for the rest of the soldering iron tip to look darker over time.
If the solder doesn’t stick to the tip but rolls off instead, it means the tip is dirty or corroded. To fix this, follow the steps in our guide on how to clean a soldering gun. If that doesn’t work, ensure you aren’t using lead-free solder by accident, which requires higher temperatures.
Step 3: Let It Cool
Wait until the tip stops smoking, which will take a few seconds. The smoke comes from the rosin flux in the solder, which burns off when the solder does.
Step 4: Let It Clean
Now, gently poke the hot tip several times into the brass tip cleaner to remove the solder. If you use a damp sponge for soldering, wipe the tip on it. With a few swipes, the solder should start rolling off the soldering iron’s tip.
Step 5: Let It Shine
Follow the tip to ensure the plated area looks shiny. If there are any marks or discolorations on the nickel-plated part of the soldering iron tip, repeat this process until it looks shiny. If this doesn’t work, return to our guide on cleaning tips. It’s good soldering hygiene to tin your iron.
You have done a good job tinning your soldering iron. Once you’ve done it properly, it will be a very easy thing to do. But remember to put a big blob of solder on the tip of your iron before putting it away. It makes a layer of solder that protects the tip and keeps it from burning over time while it is stored.
Why Tinning A Soldering Iron Is Important?
The tip can oxidize if you don’t use a soldering iron for a while. It makes it hard to tin and can cause bad solder joins.
- Tinning the tip makes a layer of solder that saves it from oxidation.
- A tinned tip has a better heat transfer rate, so it can quickly move heat to the workpiece. It can help ensure that the solder melts properly and the joint strengthens.
A tinned soldering iron tip is easier to control than a non-tinned tip. The solder helps make a smooth, even surface easy for the iron to move over. It is because the solder helps to keep the soldering iron’s heat from hurting the item.
Here are a Few More Tips on How to Tin a Soldering Iron
- Make sure you use good glue. The solder might run better and make a strong bond if it is good.
- Make sure to clean the soldering iron. The heat won’t move through a dirty soldering iron, making it hard to tin the tip.
- Put a small amount of solder in an exact spot on the tip of the soldering iron. Too much solder can make it hard to control the soldering iron, and too little solder might not make a strong bond.
- Use a piece of scrap metal to practice tinning the soldering iron before you start a job. It will help you understand how much solder to use and how to spread it out properly.
- Tinting the soldering iron is an easy step that helps make sure the solder joint works well. Doing these things ensures that your soldering iron is properly primed and ready to use.
Tinning your soldering iron is one of the most important things you can do to ensure it works well. By following these steps, you can easily tin the tip of your soldering iron, which will help it transfer heat better and last longer. Remember to keep your area clean, put safety first, and repeat the tinning process often for the best soldering results.